
Grip Training
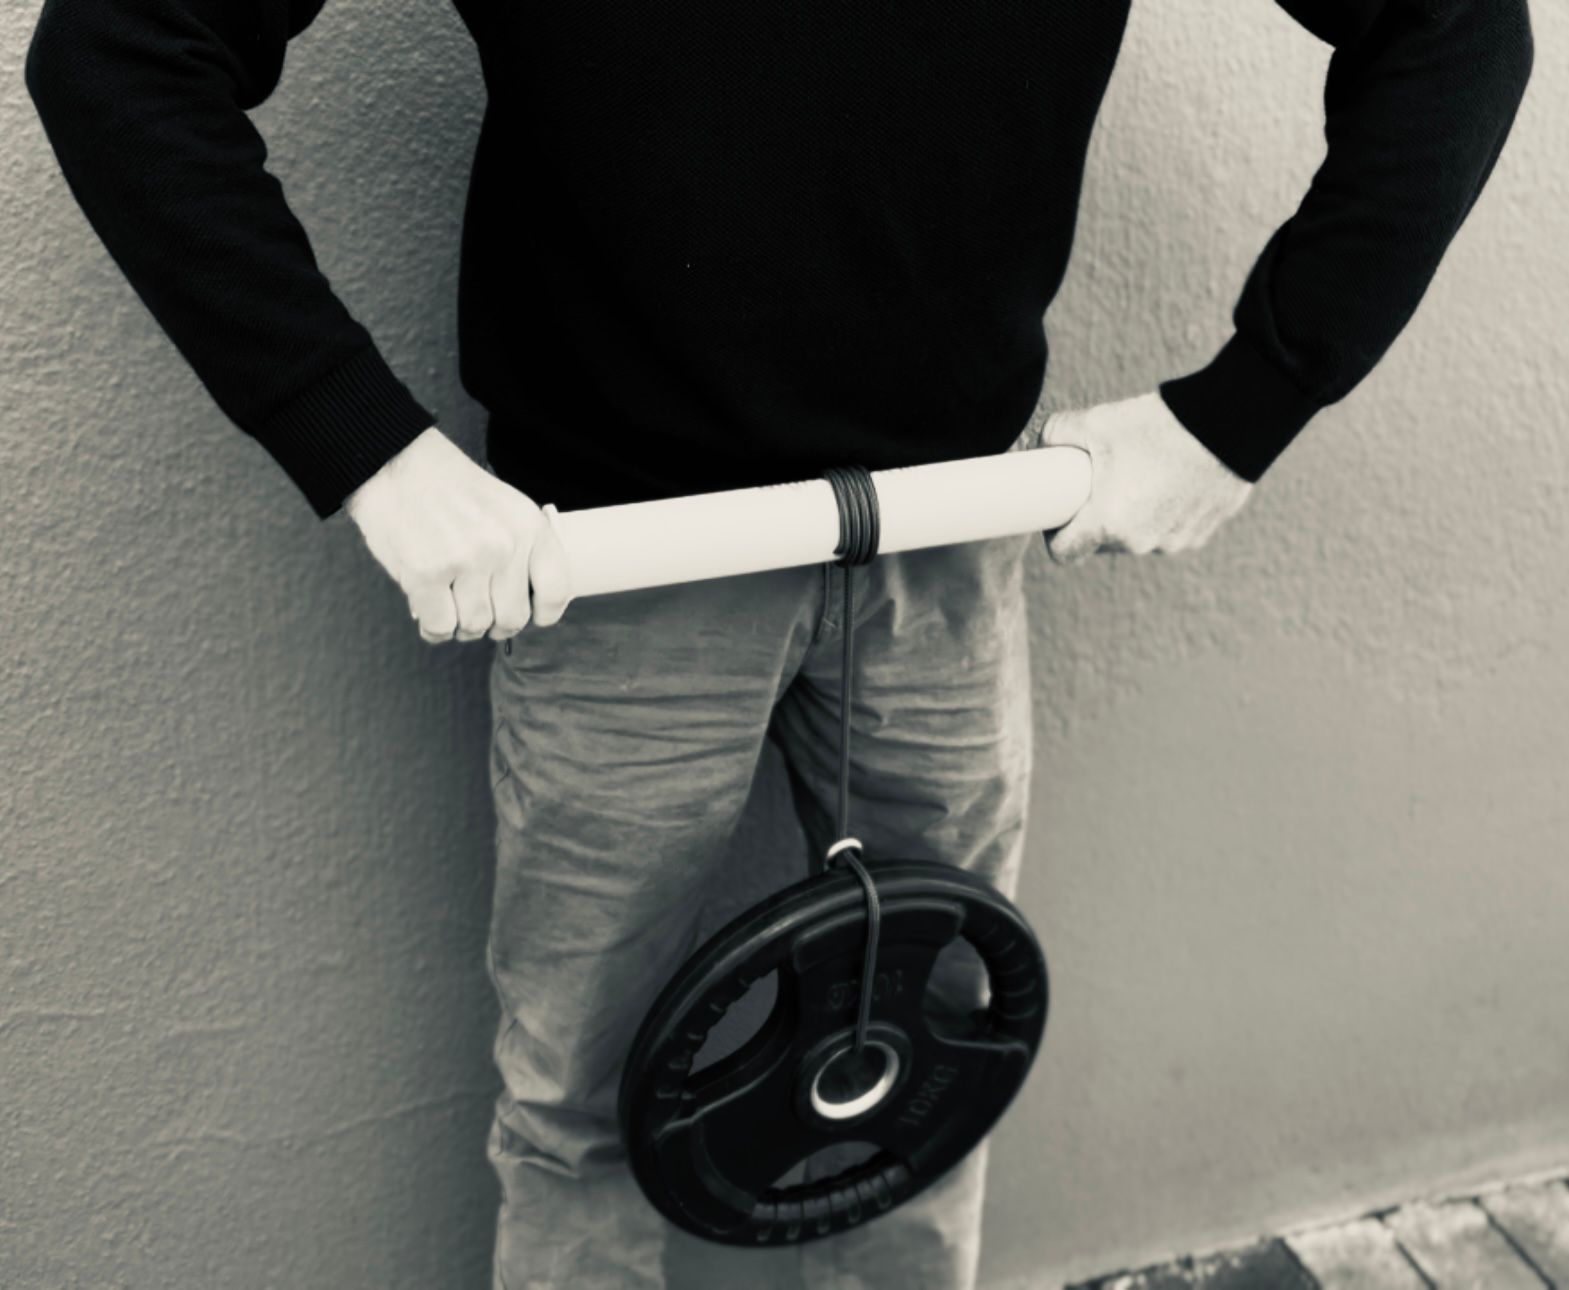
Where Do I Start?
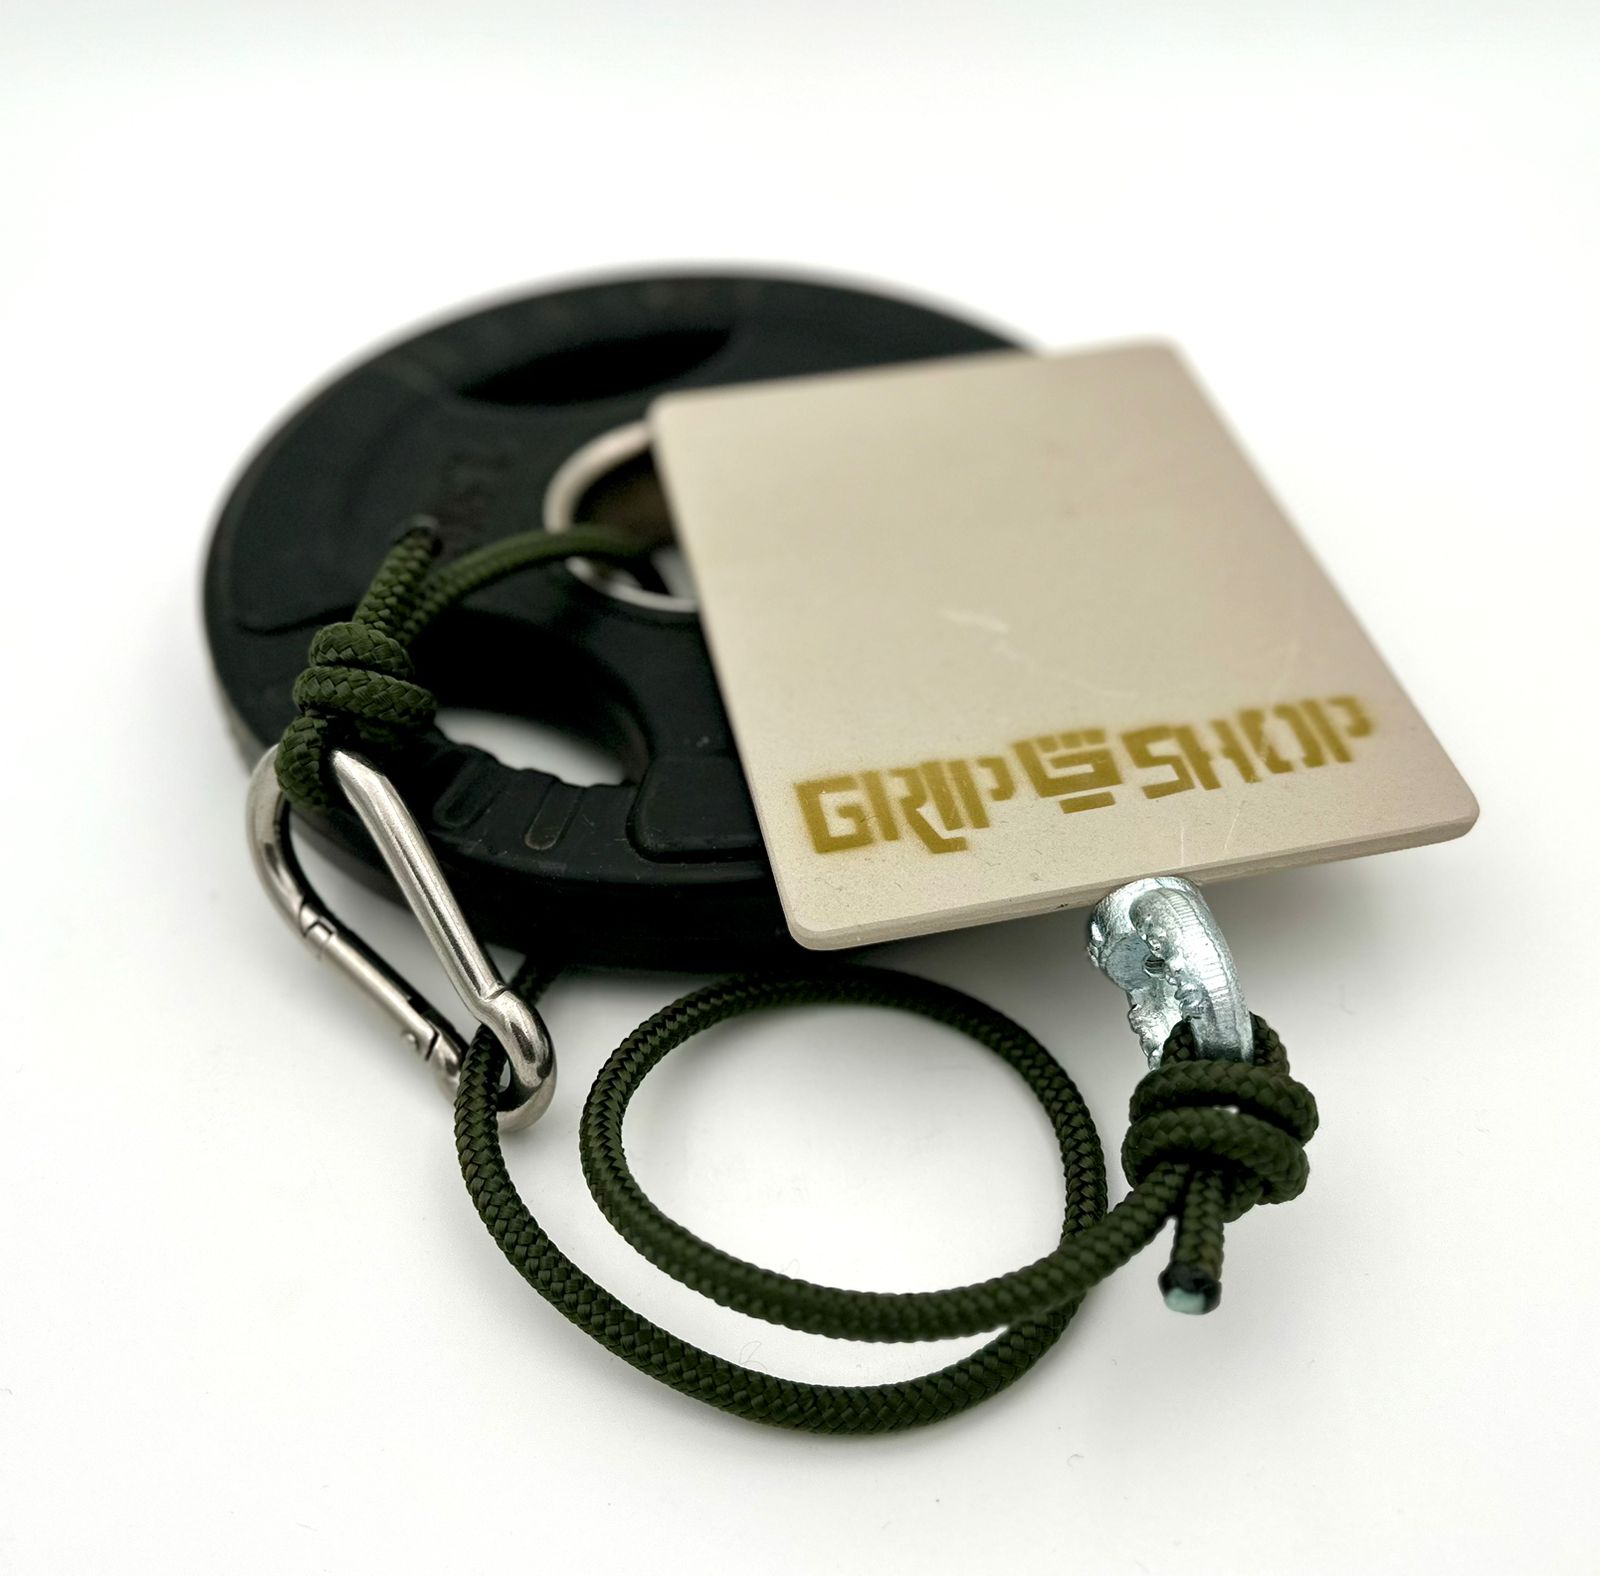
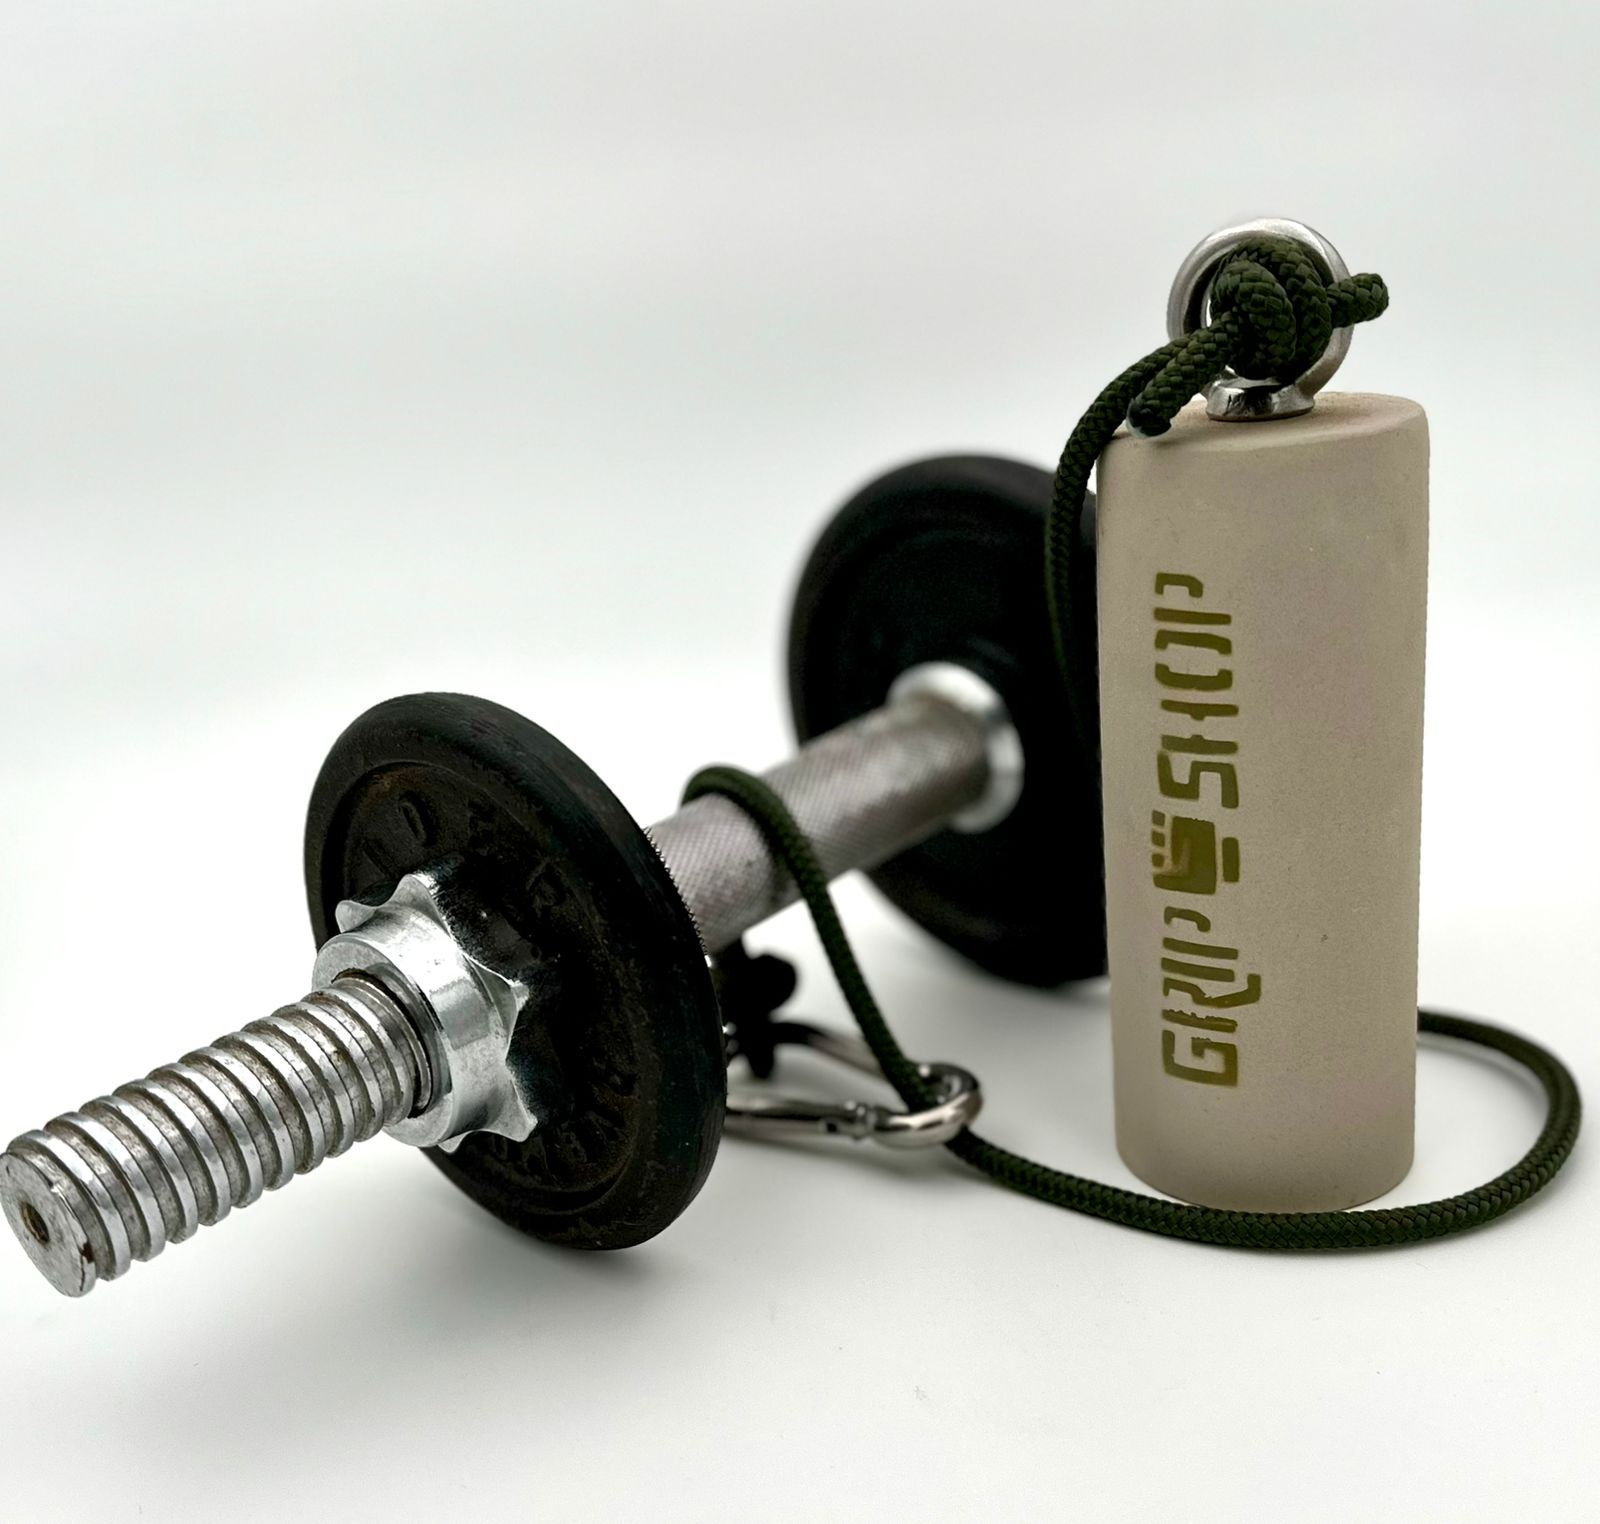
Our grip tools are designed to be used with most available weights including kettlebells, dumbbells, disc weights etc.
Weights are attached using either our loading pins (two sizes available) or simply with our rope and carabiner.
The following items will cover most of your bases:
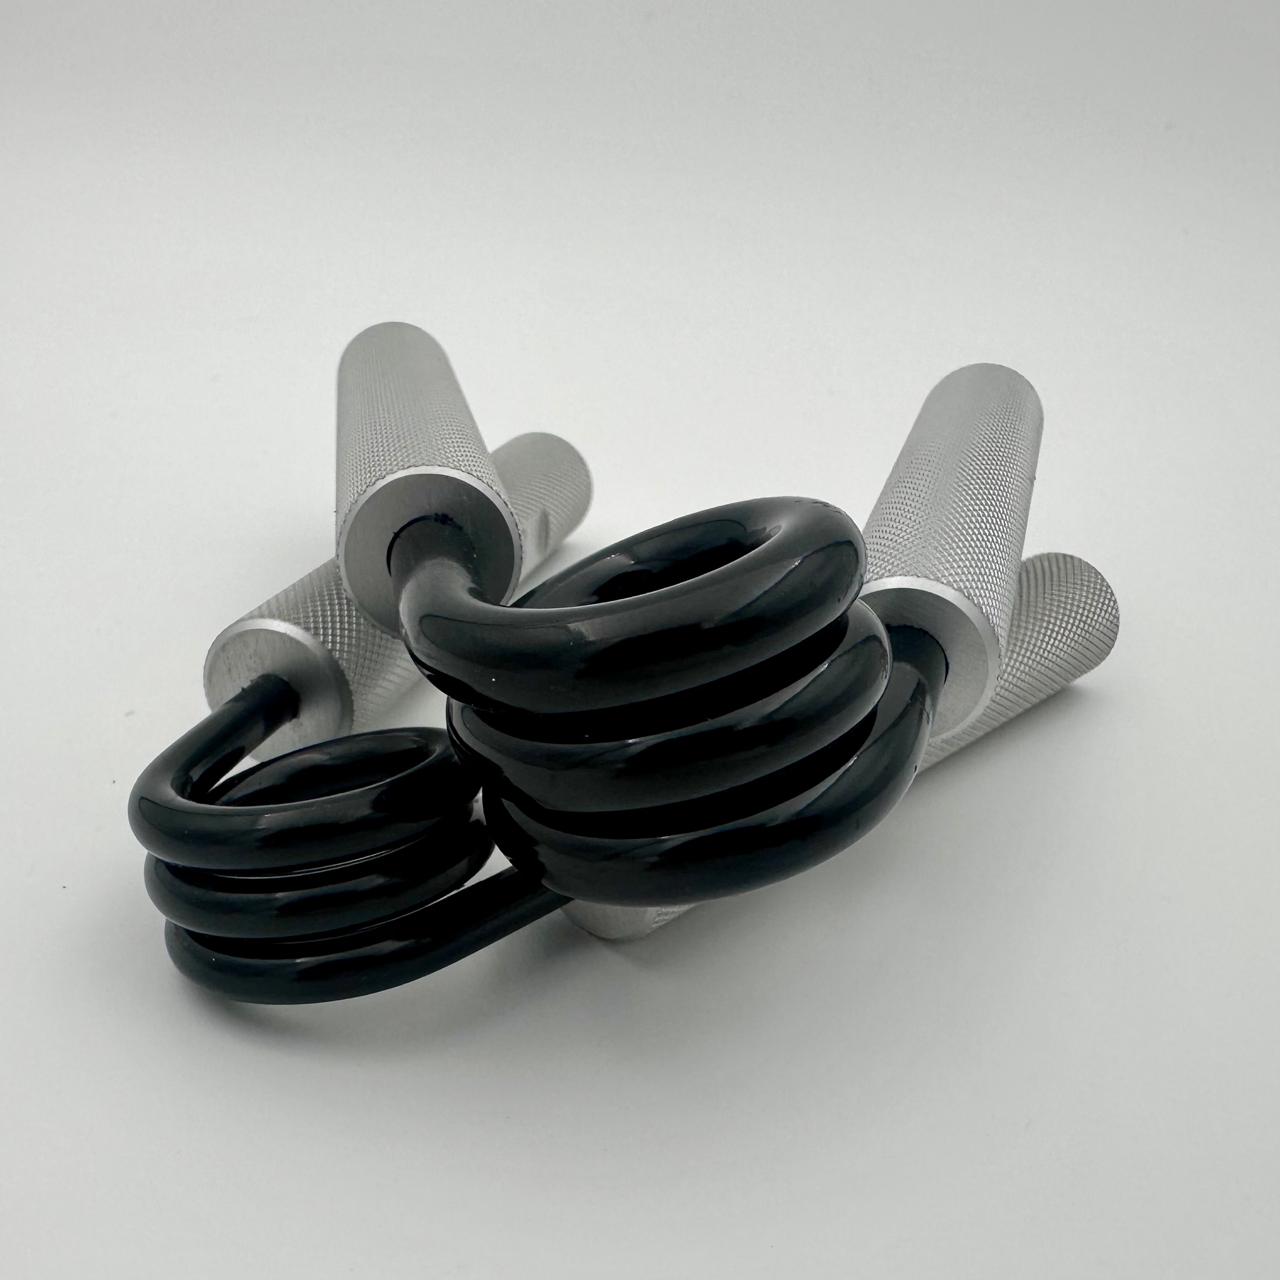
1 X Gripper in 100lb or 150lb (closed grip strength and convenience)
1 X Blaster (flexion, extension, radial & ulnar)
1 X Pinch block – fat or thin (pinch grip) and/or
1 X Cylinder Grip (support grip)

Blaster
If you’re only going to buy one tool then this is the one. The wrist Blaster doubles as a wrist roller and a lever and allows you to train your wrist in all six ranges of movement: flexion, extension, radial deviation, ulnar deviation, pronation, and supination.
To develop complete grip strength all six primary movements of the hand need to be worked.
The six primary movements of the hand are:
Flexion: palm up curling towards you
Extension: palm down, back of the hand towards you
Radial deviation: thumb up toward the wrist
Ulna deviation: pinky finger down towards the wrist
Pronation: palm moving from facing up to facing down
Supination: palm moving from down facing to up facing
When we grip something we use either a crushing grip or a pinch grip or a combination of the two.
Pinch: thumb squeezing the fingers e.g. pinch block
Crush: fingers squeezing the palm e.g. squeezing a gripper

Designing a work out
Designing a work out
30min – 40min
Two to three times per week
Pick four to six exercises (each one training a different movement, always including at least one wrist extension exercise (palm down, wrist moving back towards the forearm)
One to two minutes rest between sets
Include variations of:
Concentric reps : 10 – 15 reps X 3 sets
Eccentric (negatives) 4 X 7sec – 10sec reps X3
Isometric (holds) 4 X 10sec – 15sec holds X3
Gyro Ball

Important Considerations
- Start Slow: Begin with slow, controlled movements and gradually increase the speed and intensity as you get comfortable.
- Warm-up: Always warm up your hands and wrists before using a gyro ball to prevent injury.
- Proper Grip: Hold the gyro ball with a relaxed grip to avoid straining your hand.
- Rest Periods: Take breaks between sets to avoid fatigue.
Who can benefit from Gyro Ball exercises
- Musicians: To improve hand dexterity and finger coordination.
- Office Workers: To alleviate wrist pain from repetitive computer use.
- Athletes: To enhance grip strength and wrist power for sports performance.
- Rehabilitation Patients: To regain wrist mobility after an injury.
Basic Gyro Ball Exercises
- Simple Wrist Circles: Hold the gyro ball with a relaxed grip and rotate your wrist in small circles, first clockwise then counter clockwise.
- Wrist Flexion/Extension: With the gyro ball spinning, slowly flex your wrist towards your forearm, then extend it back out, repeating for multiple repetitions.
- Supination/Pronation: While the gyro ball spins, rotate your hand so your palm faces up (supination) then down (pronation), repeating back and forth.
- Fingertip Rotations: Hold the gyro ball lightly with your fingertips and rotate your wrist in small circles, focusing on the fine motor control of your fingers.
Advanced Gyro Ball Exercises
- Fast Wrist Flicks: Quickly flick your wrist in different directions while maintaining a spinning gyro ball, challenging your reaction time and control.
- One-Handed Push-ups: Place your hand on a surface with the gyro ball spinning, then perform a push-up using only that hand, adding an extra challenge to your wrist stability.
- Wrist “Squeezes”: While the gyro ball is spinning, forcefully squeeze your hand into a fist, then release, repeating for muscle activation.
- Wrist “Pulse”: Quickly alternate between flexing and extending your wrist while holding the spinning gyro ball, creating a pulsating motion.